That is a month of content if you publish three times a week, or two weeks if you post daily.
Why batching beats “posting when you feel inspired”
This guide gives you the exact workflow. You will choose the right photos, write prompts that look intentional, generate consistent motion in minutes inside Frameish, and organize everything so publishing is easy.
Frameish runs in the browser, generates in roughly 30 to 60 seconds, uses a credit system, and starts with 3 videos for $14.99 with a Money-Back Promise.
What “30 from 10” actually means
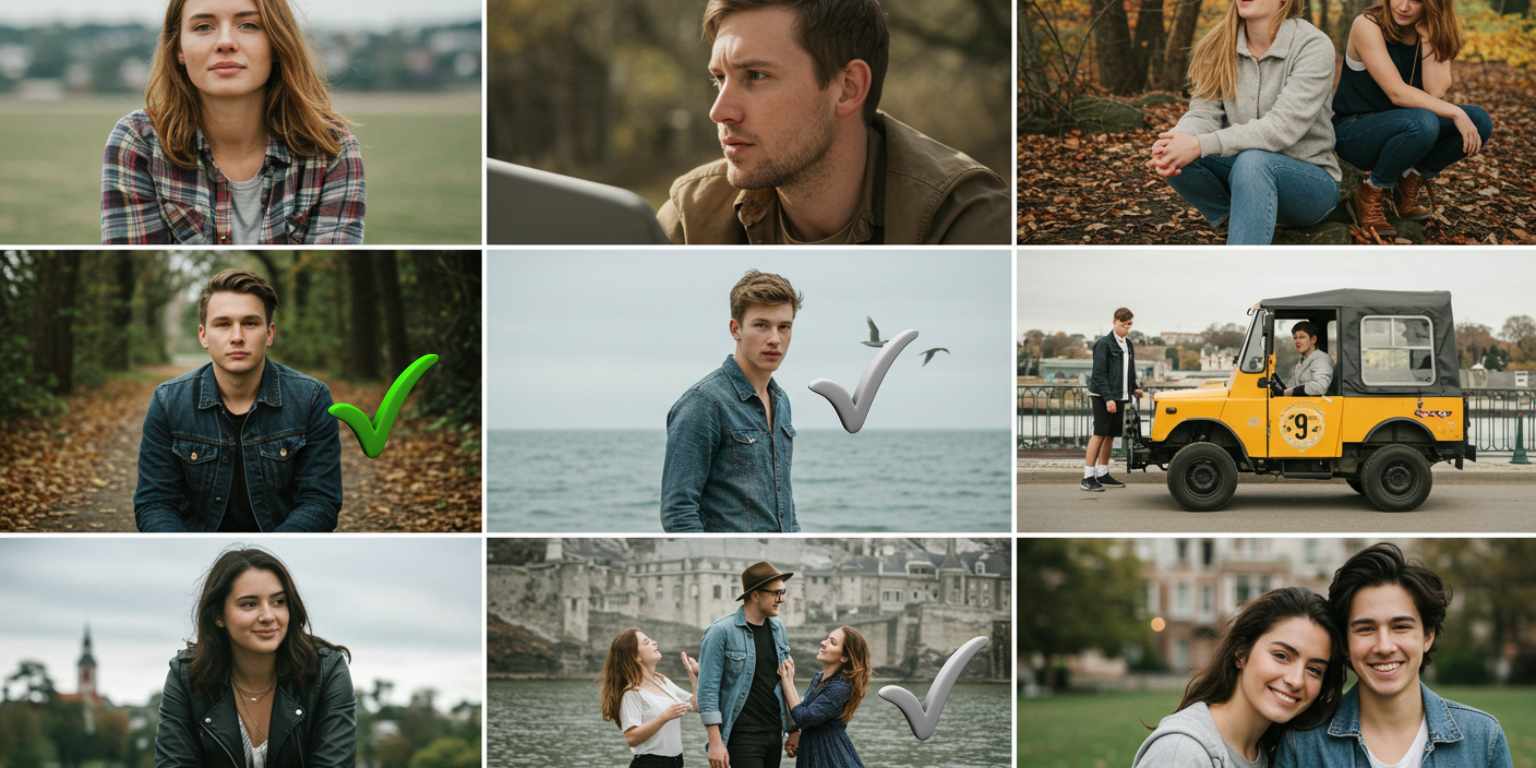
The goal is not 30 random clips. The goal is three purposeful variations from each of your 10 best photos:
- Detail to reveal
- Anchor and drift
- Loop or end-frame lock
These three moves cover awareness, engagement, and replay value. They are easy to recognize on a phone and simple to execute with clear prompts. You will end with 30 publishable videos that feel consistent without being repetitive.
Step 1 — Select the right 10 photos
You will get more out of prompt writing if the source images are strong. Use this checklist.
Subject clarity
One obvious focal point. Faces, hero products, distinct silhouettes.
Separation
Visible depth or contrast between subject and background.
Edge quality
Crisp edges. Minimal compression. Avoid busy, low-light noise.
Resolution
1080 px on the short side or higher.
Story potential
The frame should already suggest a moment or benefit. AI enhances what you give it.
Sort your set into three simple buckets: Portraits or people, Products, Scenes or places. Aim for balance across the 10 so your feed has variety.
Step 2 — Lock your three reusable prompts
Write once. Reuse across all 10 photos. Keep prompts under two sentences and follow this structure:
Move + Subject focus + Mood or light + Finish
A) Detail to reveal
“Extreme close up on [texture or logo], slow pull back to reveal [full subject], soft studio light, end on centered frame.”
B) Anchor and drift
“Keep [subject] centered and sharp, slow background drift to the right, natural daylight, end where started.”
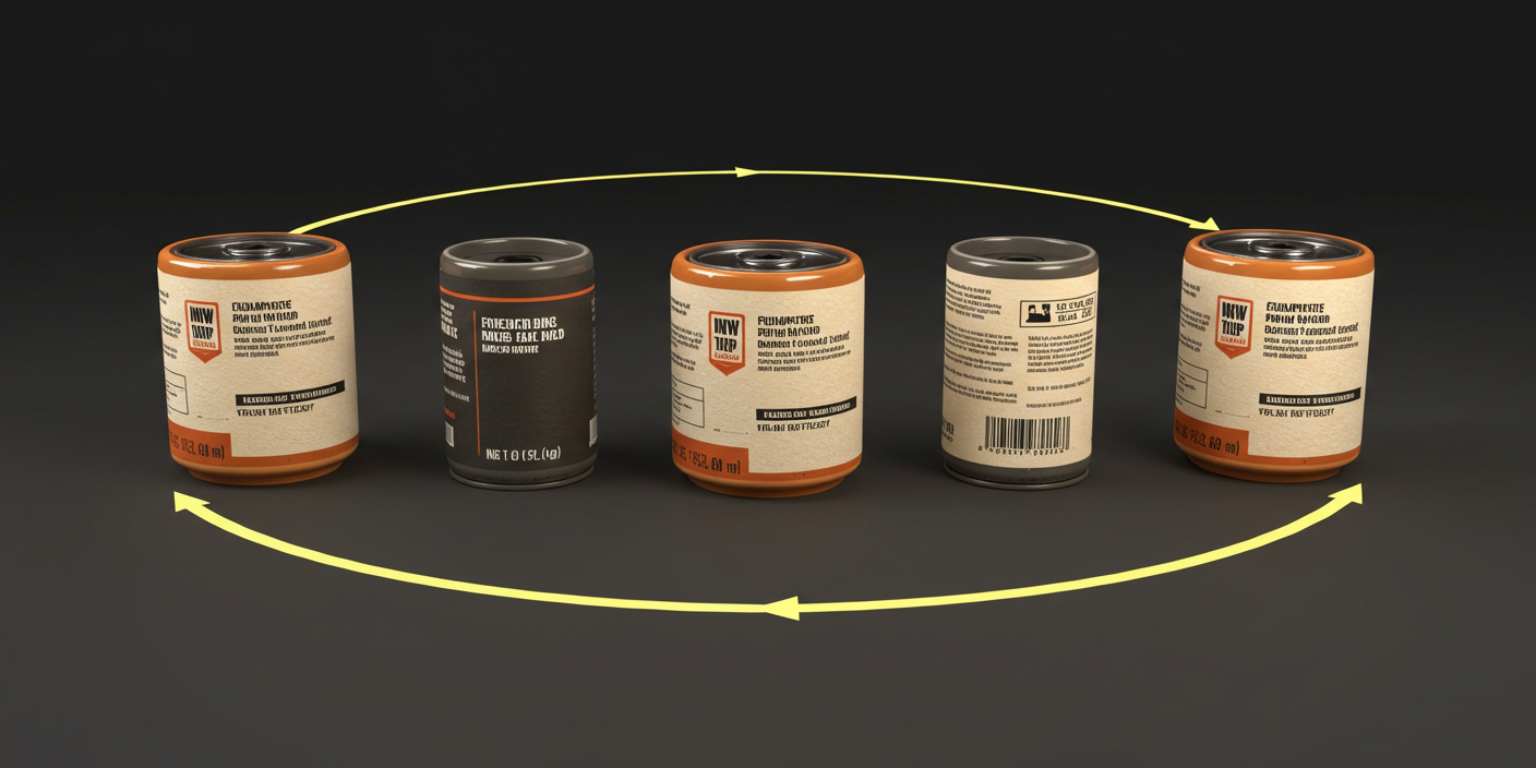
C) Loop or end-frame lock
“Short loop around [object], warm light, maintain label legibility, return to exact start position for a seamless loop.”
or
“Slow push in on [subject], soft background blur, end on a strong still with [logo or eyes] centered.”
Save these three prompts in a note so you paste them exactly. Small wording changes create bigger output differences than most people expect.
Step 3 — Run the Frameish generation sprint
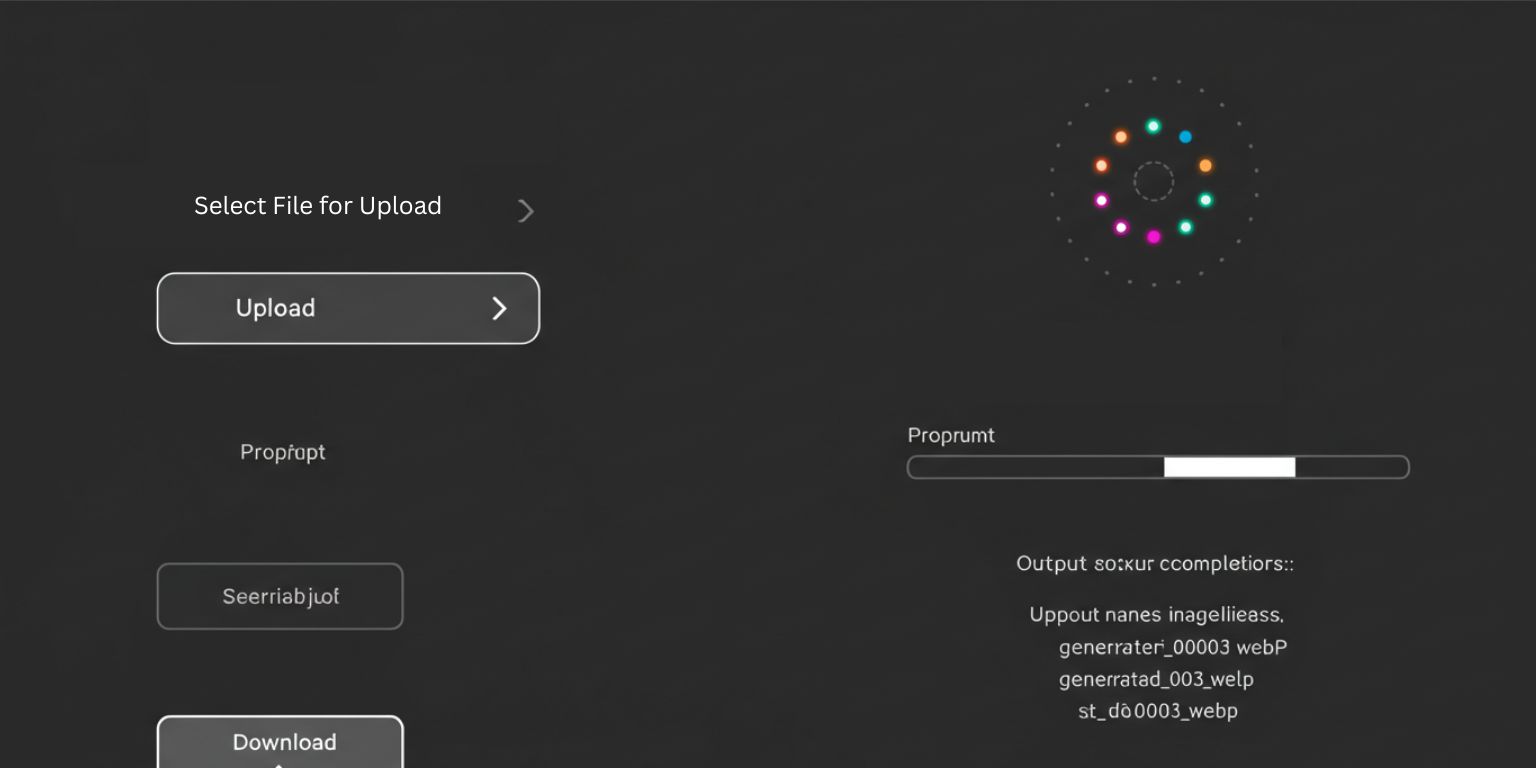
- Open Frameish and click Get Started.
- Buy credits. The popular entry is 3 videos for $14.99. Plan the total based on your target output.
- Upload your first photo in JPEG or PNG.
- Paste Prompt A and generate. Wait about 30 to 60 seconds. Download and name the file.
- Regenerate with Prompt B. Download and name.
- Regenerate with Prompt C. Download and name.
- Repeat for the remaining 9 photos.
Naming system
Use a pattern so files are searchable:
project-subject-variant-move-length.mp4
Example: spring-line-sneaker01-A-detail-reveal-08s.mp4
Preview each clip on your phone. If the first second feels soft, tighten the start in your prompt next run. If labels or eyes look soft, add “keep label legible” or “keep eyes sharp.”
Step 4 — Build a simple content map for 30 posts
You now have 30 clips. Map them to a publishing rhythm that makes sense.
If you post 3 times per week
- Week 1: Photo 1 A, Photo 2 B, Photo 3 C
- Week 2: Photo 4 A, Photo 5 B, Photo 6 C
- Week 3: Photo 7 A, Photo 8 B, Photo 9 C
- Week 4: Photo 10 A, Photo 1 B, Photo 2 C
If you post daily
- Day 1 to 10: Run A variants.
- Day 11 to 20: Run B variants.
- Day 21 to 30: Run C variants.
This keeps format familiarity high while preventing visual fatigue. Blend platforms by day so no channel gets all of one type.

Step 5 — Platform specifics that matter on a phone
TikTok
- Crop vertical 9:16.
- Motion must begin on frame one.
- Pair with audio that matches your brand tone.
- End with a question to encourage comments.
- Keep most clips 6 to 12 seconds to earn loops.
Instagram Reels
- Lead with motion, then explain in the caption.
- Use large, sparse on-screen text for muted viewing.
- Work in 7 to 12 second cuts for replays.
- Interleave animated stills with carousels to keep the grid clean.
YouTube Shorts
- First frame must read like a thumbnail.
- Consider animated stills as B-roll under a quick tip or brand line.
- Deliver a small payoff by the end so viewers feel the clip was worth it.
Step 6 — Captions, overlays, and end frames
Captions
Write for muted viewing and quick comprehension. Five to ten words that add context or set a hook. Avoid walls of text.
Overlays
Reserve safe areas. If your prompt says “leave top third clear for text,” your layout will feel designed, not cramped.
End frames
Land on a frame that could stand as a still. Variants to test: price end slate, feature claim, or simple logo lock-up. In ads, swap the end slate and measure which finish performs.
![]()
Step 7 — Organize outputs so publishing is fast
Create folders by placement: Social, PDP, Ads, Email. Within Social, group by platform. Keep a simple spreadsheet with columns for file name, caption, hashtags, publish date, and result. If a clip is a winner, mark it and repeat the move next sprint.
Prompt upgrades for common scenarios
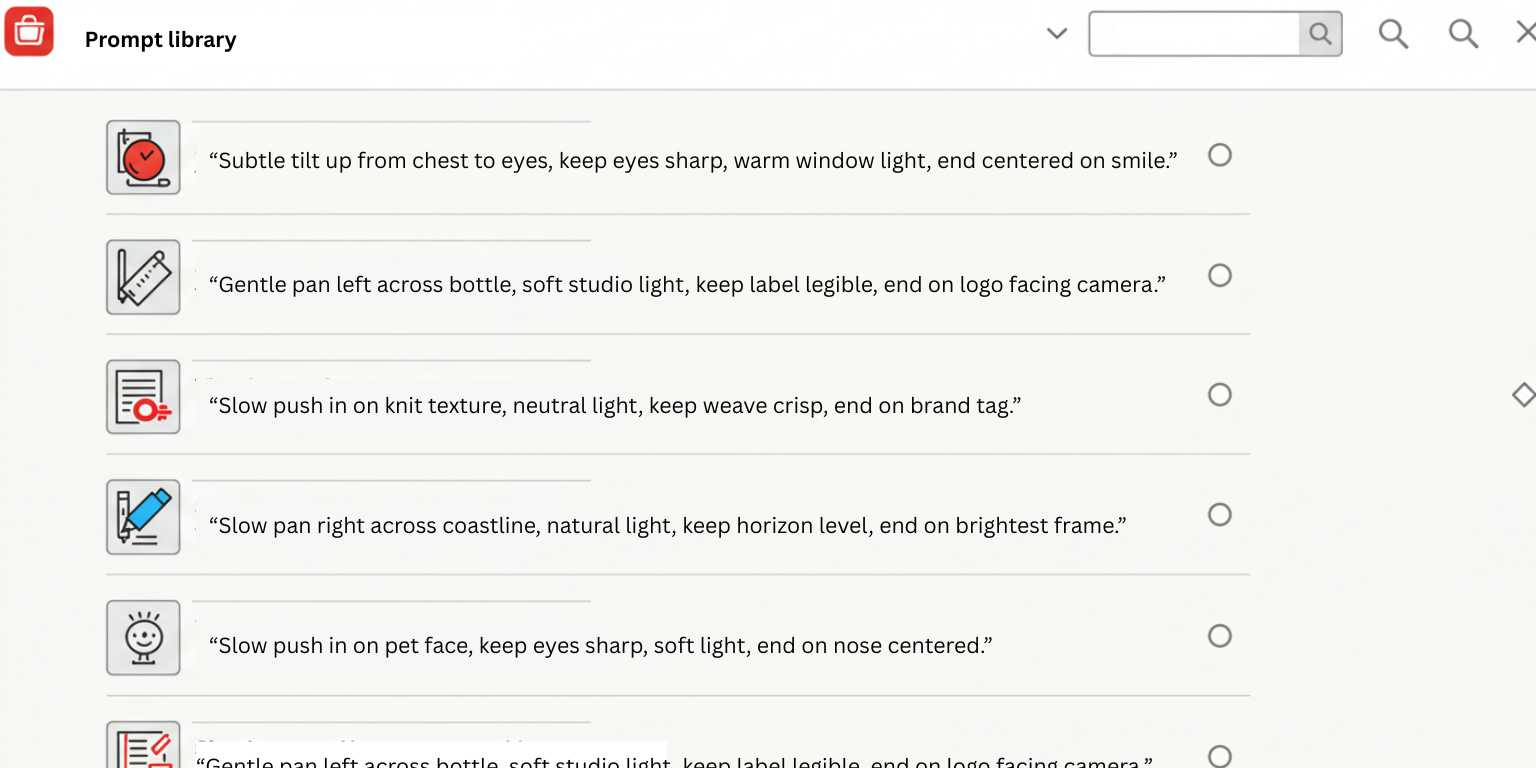
Portraits
“Subtle tilt up from chest to eyes, keep eyes sharp, warm window light, end centered on smile.”
Products with labels
“Gentle pan left across bottle, soft studio light, keep label legible, end on logo facing camera.”
Textures
“Slow push in on knit texture, neutral light, keep weave crisp, end on brand tag.”
Places
“Slow pan right across coastline, natural light, keep horizon level, end on brightest frame.”
Pets
“Slow push in on pet face, keep eyes sharp, soft light, end on nose centered.”
Copy one, swap your nouns, and run. The secret is restraint. One move. One idea.
Quality and consistency checklist
- The first frame is compelling on mute.
- The subject stays sharp through the move.
- The motion is smooth, not jumpy.
- The clip ends on a strong still or loops cleanly.
- There is clear space for text if needed.
- The clip length matches the platform sweet spot.
If any line fails, adjust the prompt and regenerate. Do not try to fix a weak opening in editing.
Troubleshooting without wasting time
Cheesy motion
Lower intensity. Ask for “subtle” and pick one move.
Soft labels or eyes
Add “keep label legible” or “keep eyes sharp” to the prompt.
Subject drifts off
Specify “keep subject centered” or “keep face sharp throughout.”
Loop seam visible
Ask to “return to exact start position” or switch to an end-frame version.
Text collides with content
Include “leave top third clear for text” in your prompt and avoid corner UI areas.

A half-day schedule you can actually follow
9:00–9:20
Select and organize your 10 photos into three buckets.
9:20–9:40
Write the three prompts and paste them into a note.
9:40–11:10
Generation sprint in Frameish. Three outputs per photo. Preview on mobile as you go. Name files consistently.
11:10–11:30
Pick end frames and add simple overlays where needed.
11:30–12:00
Build the 30-post calendar and drop captions into your scheduler.
That is the session. You now have a month of content if you post three times weekly.

Why Frameish is a smart default for batching
You could set up a workflow with heavyweight software, but that slows everything down. The value of batching is speed and repeatability. Frameish focuses on one job. Upload, prompt, generate, download.
It is fast enough to stay ahead of trends, simple enough for anyone on the team to use, and priced in credits so you can start small and scale when you have a style that works.
Entry is 3 videos for $14.99, default output is 480p for speed, and the Money-Back Promise covers you if it is not a fit.
Metrics to watch and how to iterate
On social
- Hold rate in the first three seconds
- Replays or loops
- Shares and saves
- Comments with intent
- Click-through on links where relevant
On PDPs
- Time on page
- Size or color selector clicks
- Add-to-cart rate
- PDP exit rate
In ads and email
- Hook rate and view-through
- Clicks and cost per add-to-cart
- Email hero clicks and downstream purchases
Run small, clean tests. Same image with two different moves. Same move with two different crops. Same video with two different end frames. Keep a record and promote winners.
Frequently Asked Questions
How long does it take to generate a video in Frameish?
Most clips render in about 30 to 60 seconds?
Do I need to install anything?
No. Frameish runs in your browser on desktop and mobile.
What file types should I upload?
JPEG or PNG. Use the highest quality you have.
What resolution do I get?
Default output is 480p to keep generation fast. If you need higher resolution later, check the product page for updates.
How do credits work?
You purchase a pack and spend one credit per finished video. A common entry is 3 videos for $14.99.
What if I am not satisfied with the results?
Tighten the prompt, simplify the move, or switch to a stronger source image. If it still is not right, you are covered by the Money-Back Promise.
Wrap up
Batching is a creative system, not a compromise. With the right 10 photos, three reusable prompts, and a clean generation sprint, you can produce 30 videos that look deliberate, not automated. That is how you keep a consistent posting rhythm without burning a day for a single clip.
Open Frameish, paste Prompt A on your best image, and ship the first video in a minute. Repeat for the rest and load your calendar with content that moves on purpose.